Make a Labyrinth
Scan the QR code on your Labyrinth Maker's bag to access this Guide online, or download it in PDF format to print out.
Get ready:
The Labyrinth Maker is designed for use outdoors on a natural, soft, flat ground surface. Locate a clear area of ground at least 7m x 7m in which to make your labyrinth.
You can make your labyrinth by adding construction material of natural origin (e.g. grass-cuttings, straw/hay, sticks, sand, seaweed) to, or removing natural material (e.g. leaf litter, wood chips, gravel, sand or snow) from, the ground surface. As a rough guide, when adding material, your labyrinth will require a pile large enough to fill the pegged-out square of your Labyrinth Maker (a good place to keep it during construction).
Useful additional tools include a mallet, to drive the pegs securely into the ground, and a strong stick, to inscribe the design on the ground surface as an initial step.
Position your Labyrinth:
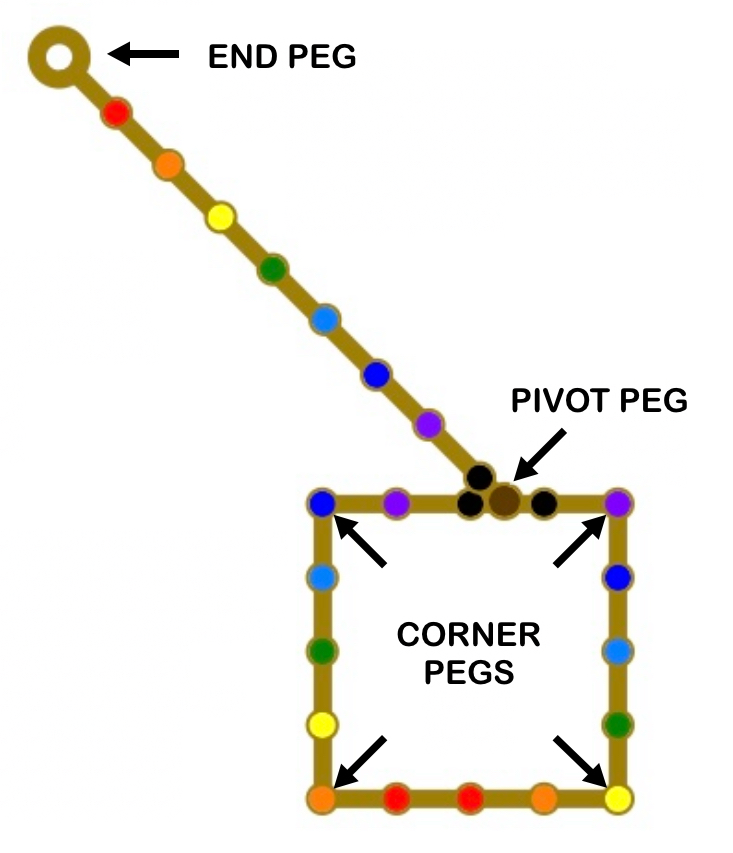
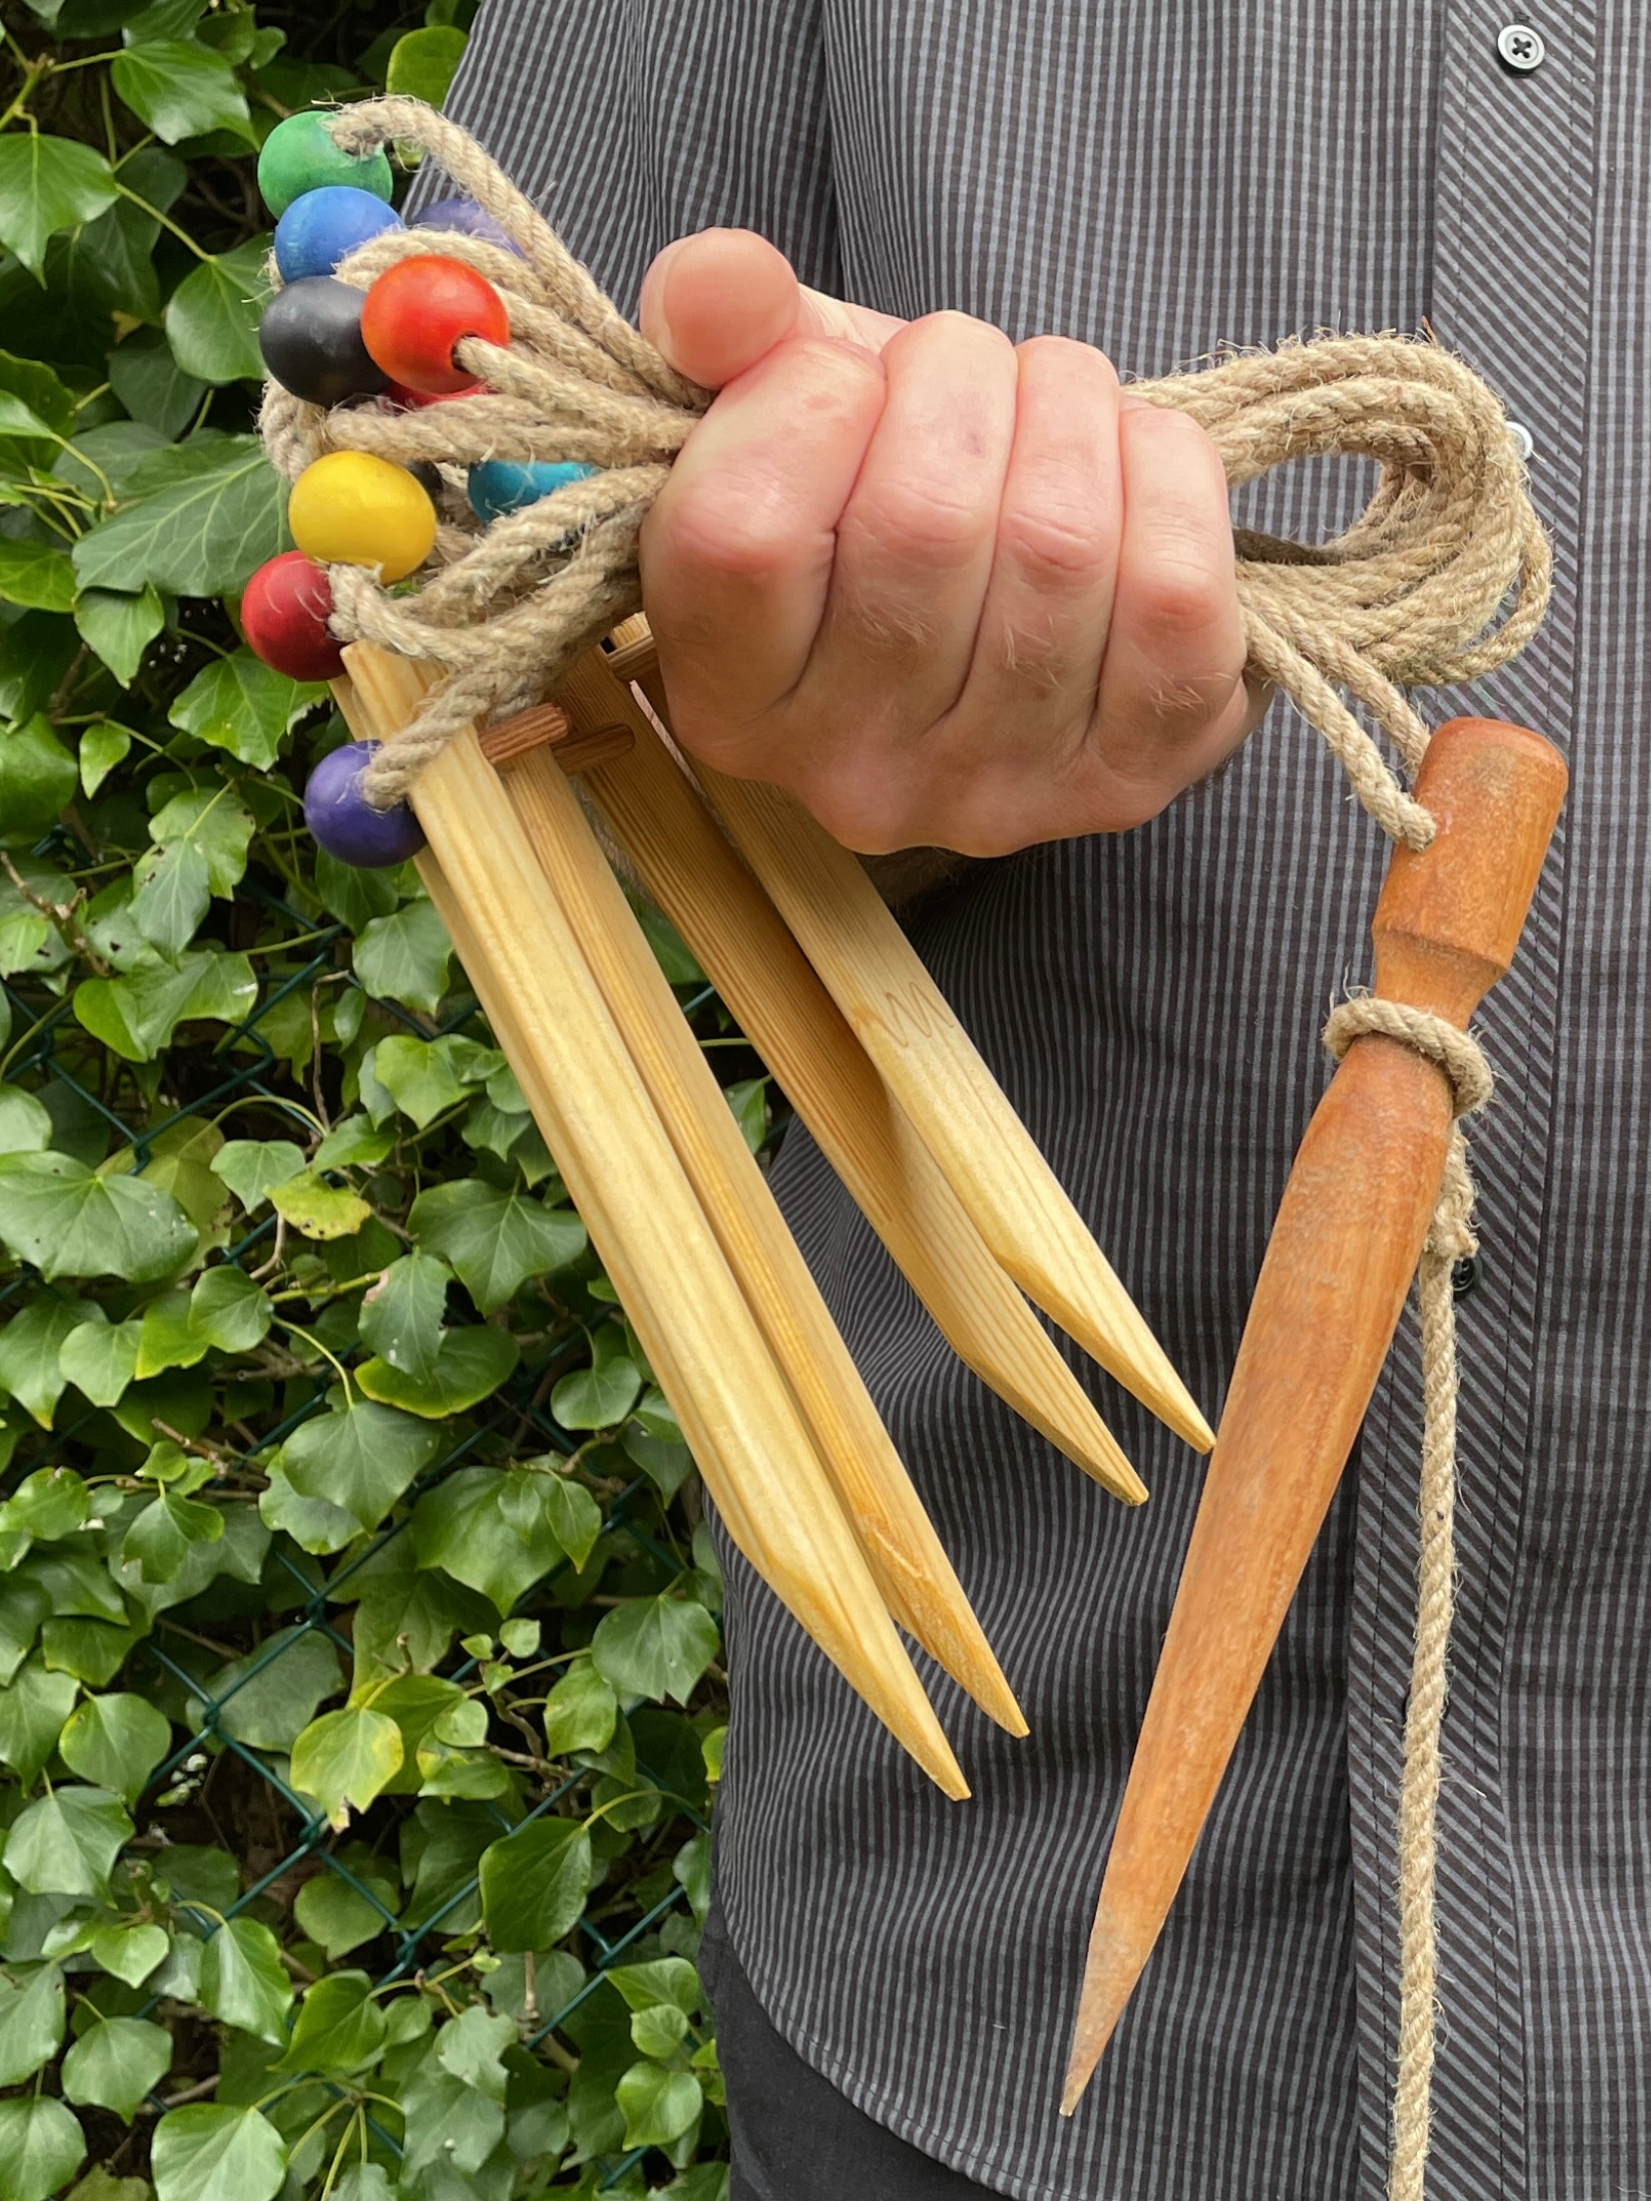
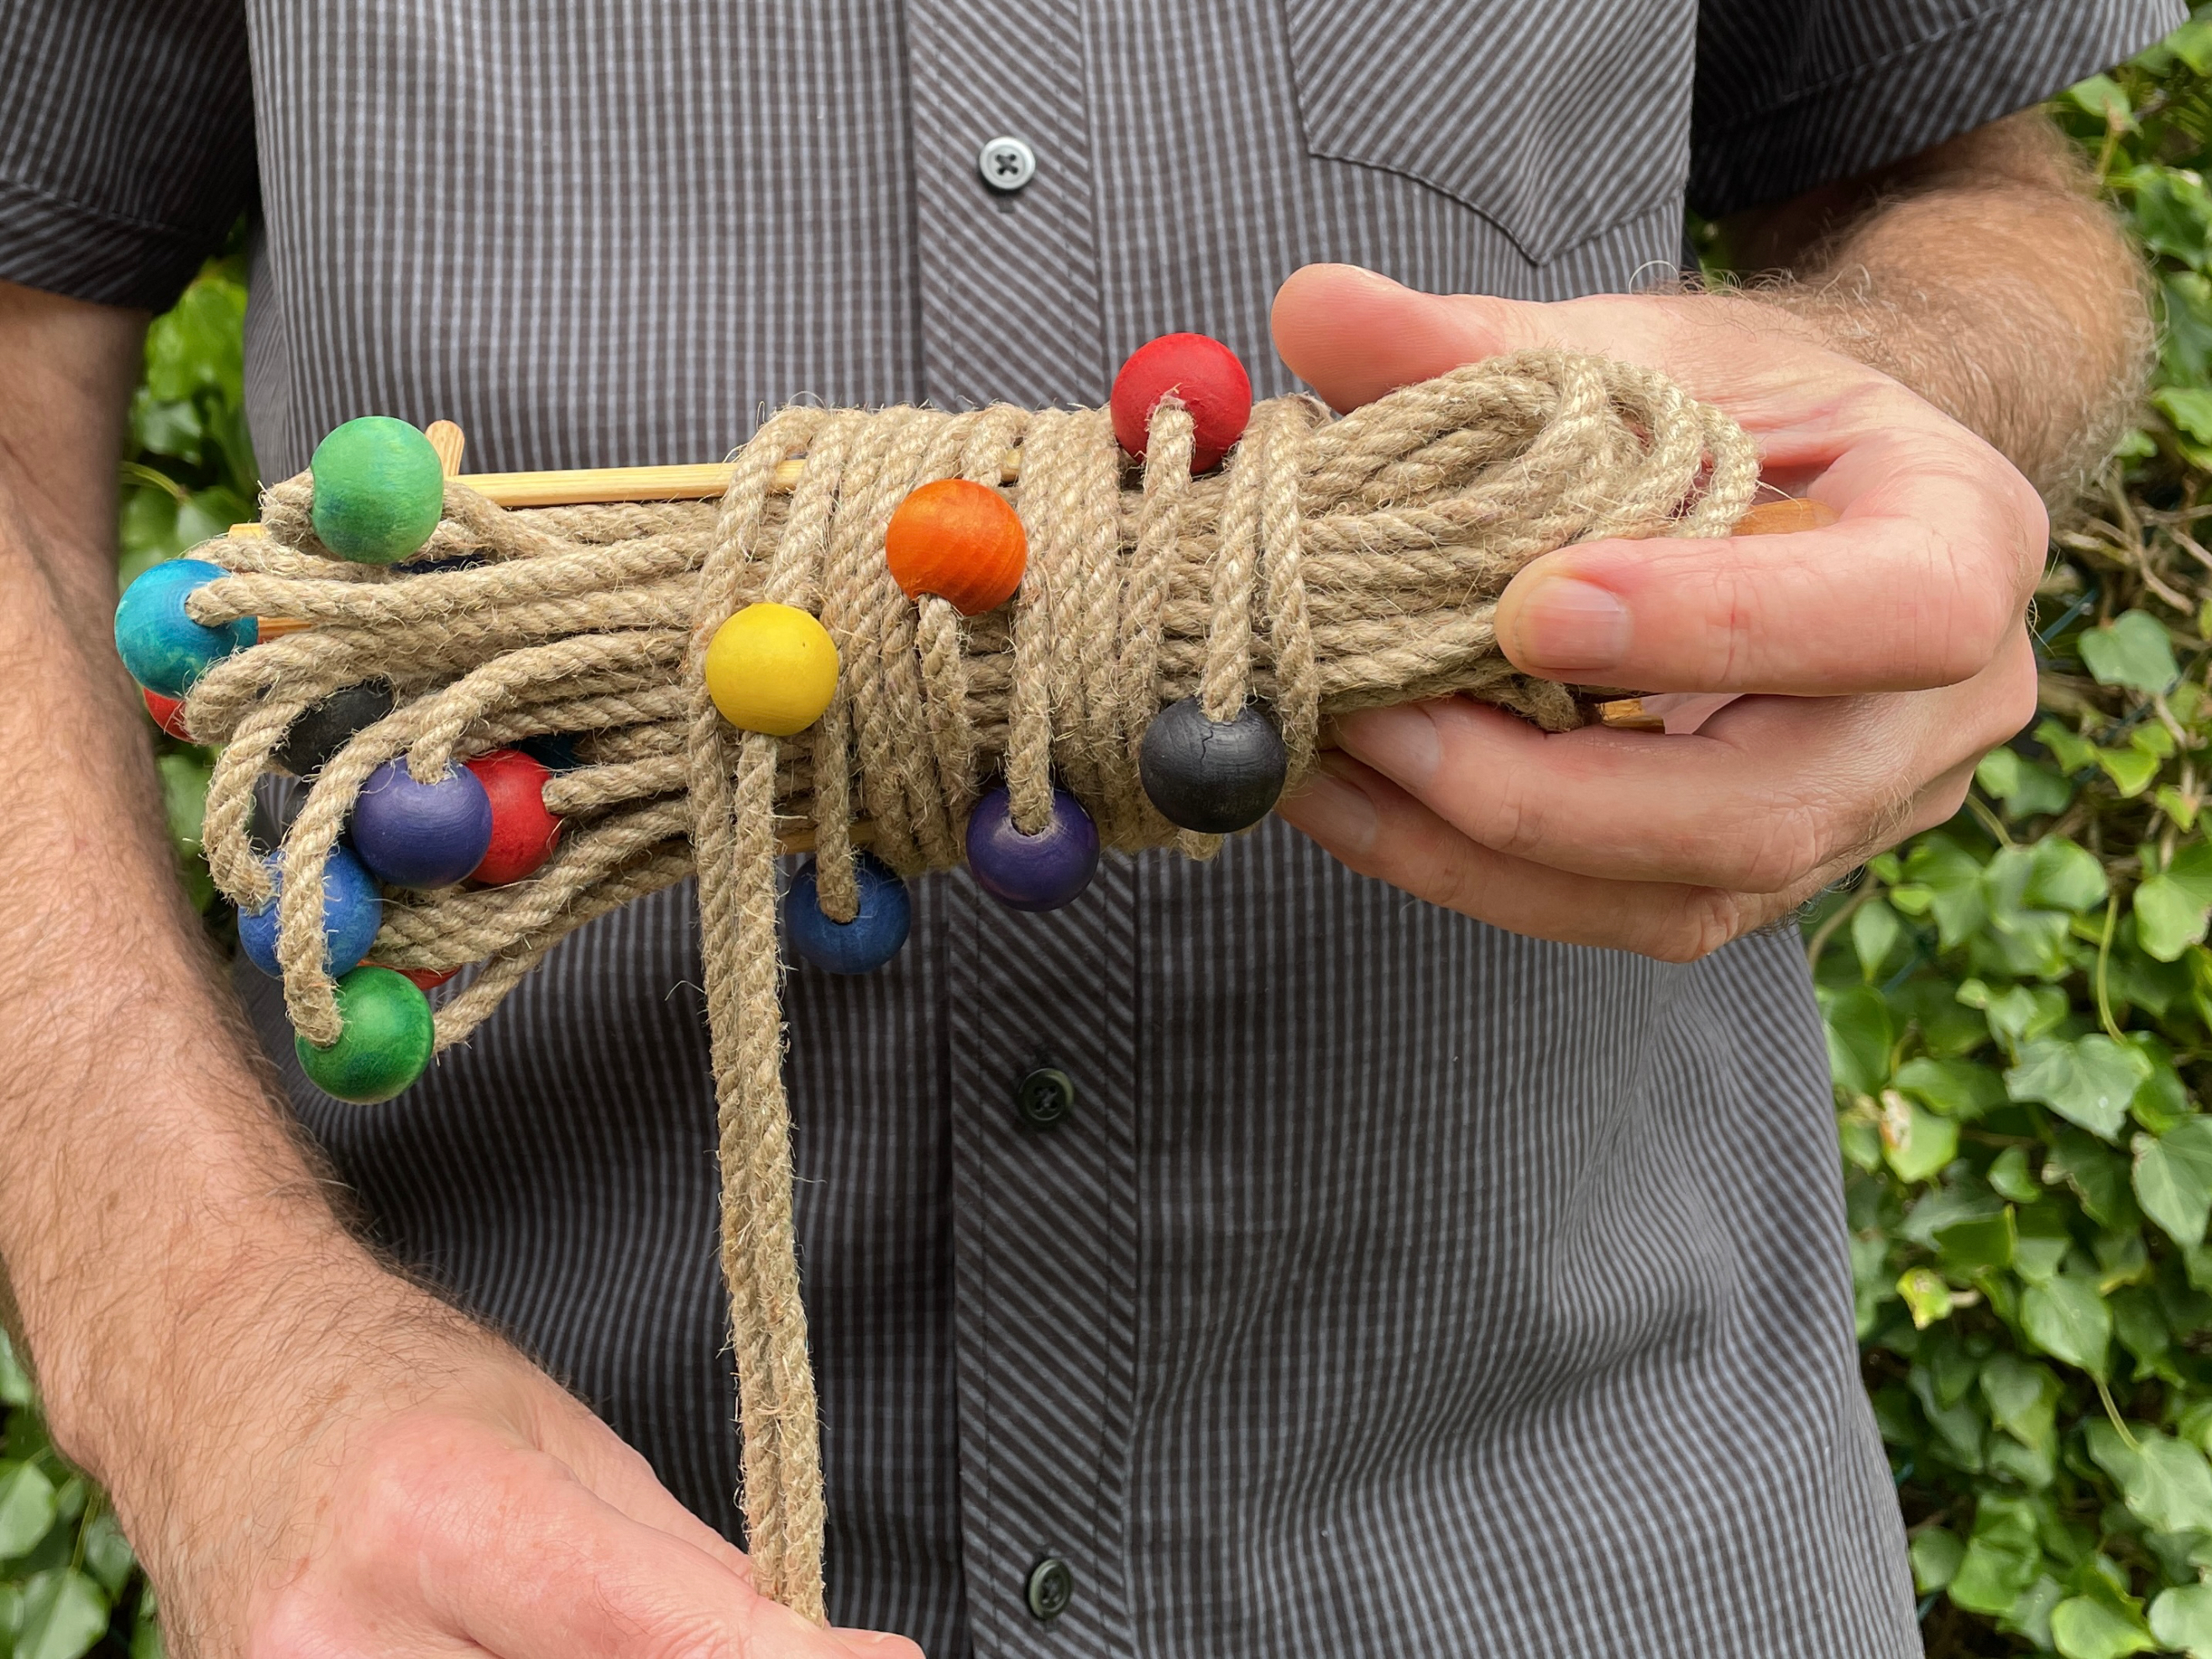
The Labyrinth Maker consists of:
- a length of rope (the circuit rope), attached to a pivot peg and end peg, to mark out the circuits of your labyrinth
- a loop of rope, with four corner pegs (the seed rope), to mark out the square 'seed' of the labyrinth
- coloured beads on the ropes and pegs which guide the layout of the labyrinth walls
The pivot peg marks the centre of your labyrinth. Position the pivot peg in the centre of your chosen area, then extend the circuit rope in all directions, to check that you have enough flat, open ground for your labyrinth.
The two red beads on the seed rope mark the entrance of your labyrinth. Once you have decided on the orientation of your labyrinth, use the seed rope to make a square. Check that the seed rope remains taut while the corner pegs, with their beads facing outwards, remain vertical.
Mark out the design:
Visit the Videos page to view an animation and time-lapse video of the labyrinth-making process.
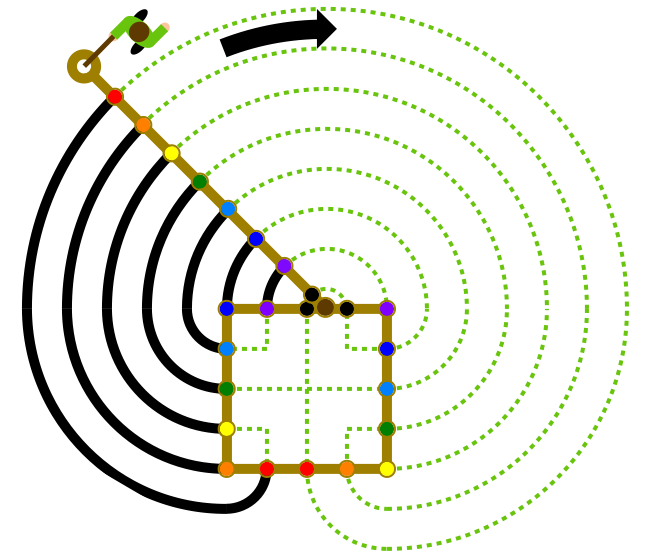
To create the seed of your labyrinth, replicate the Labyrinth Maker logo within the square marked by the seed rope using your construction material.
To create the labyrinth's circuits, begin by wrapping the circuit rope around the seed rope square, so that the corner pegs hold the beads on the circuit rope in place.
Unwrap the circuit rope little by little, keeping it taut and securing it in the ground with the end peg. Alternatively, one of your team can keep the circuit rope taut using a stick inserted through the end loop. Build the 'walls' of the labyrinth by lining up your construction material between the beads on the seed rope and the same-coloured beads on the circuit rope as you continue to unwrap the circuit rope.
As you continue building the walls by wrapping the circuit rope around the other side of the seed rope square, check that the circuit rope stays in place as it pivots around the corner pegs.
Don't forget to remove your Labyrinth Maker before using your labyrinth!
Clean and Hank your Labyrinth Maker:
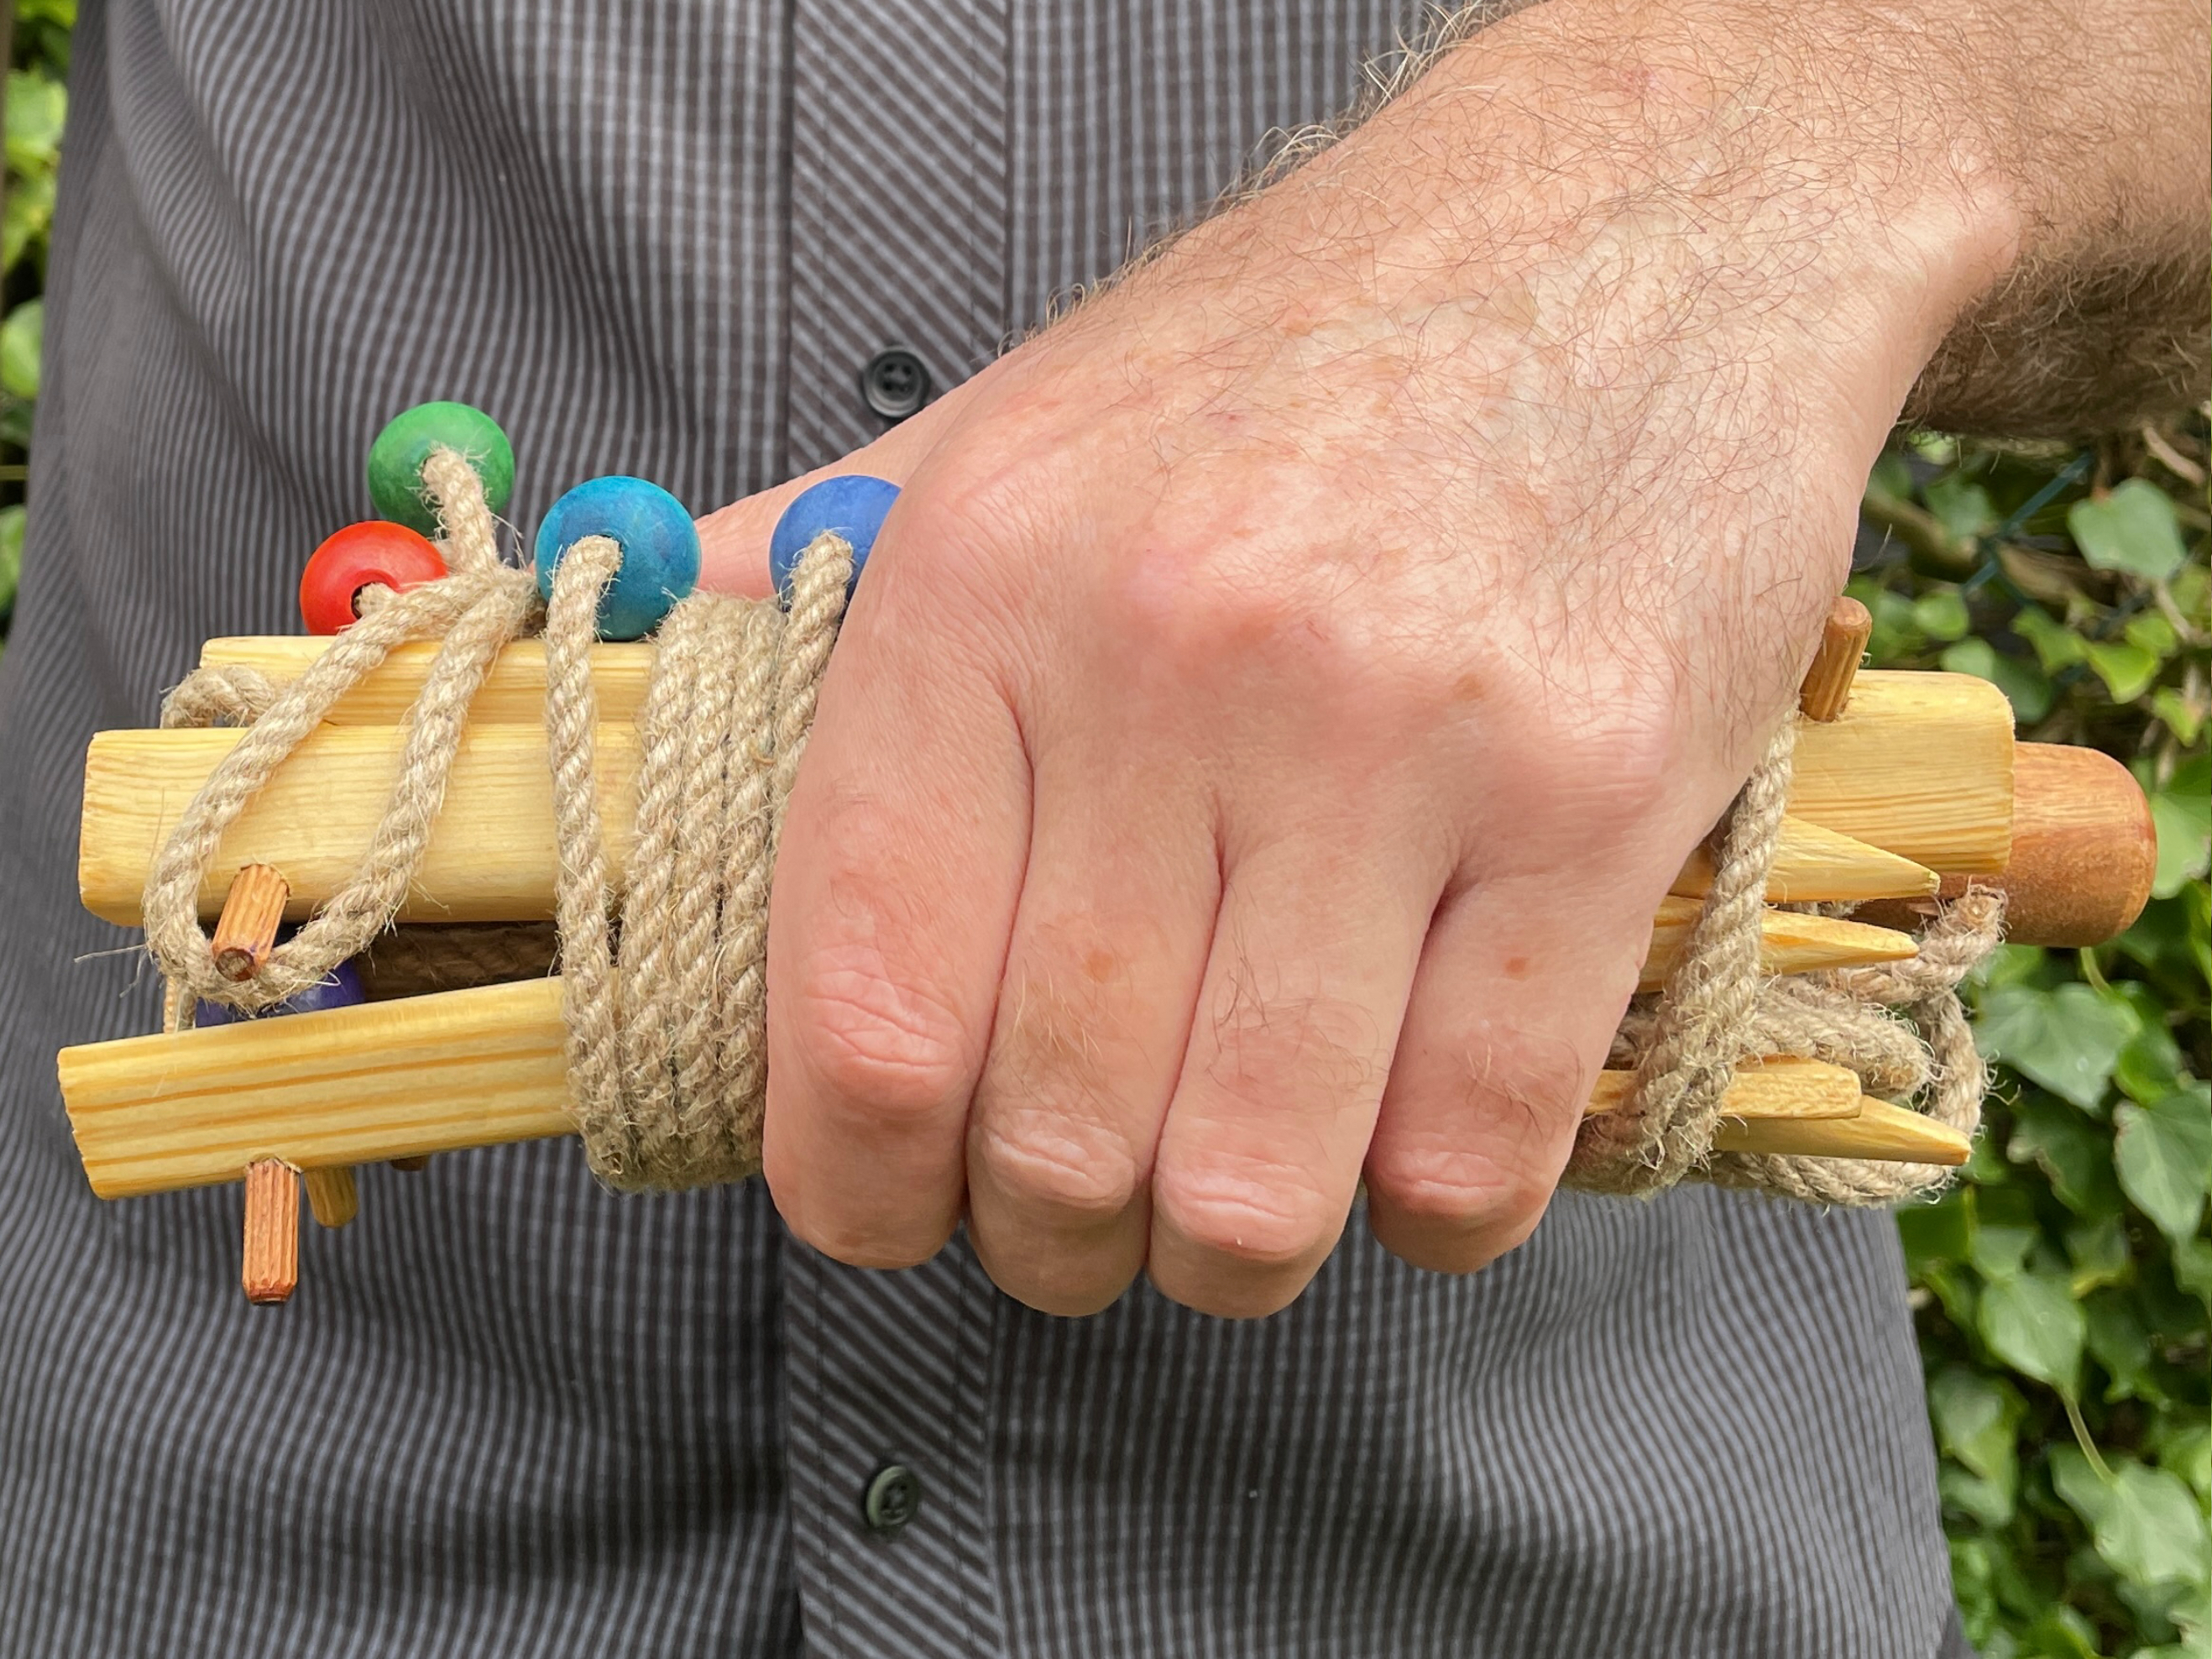
Before returning your Labyrinth Maker to its bag, scrape the pegs together to remove any loose soil, then clean them with a damp cloth.
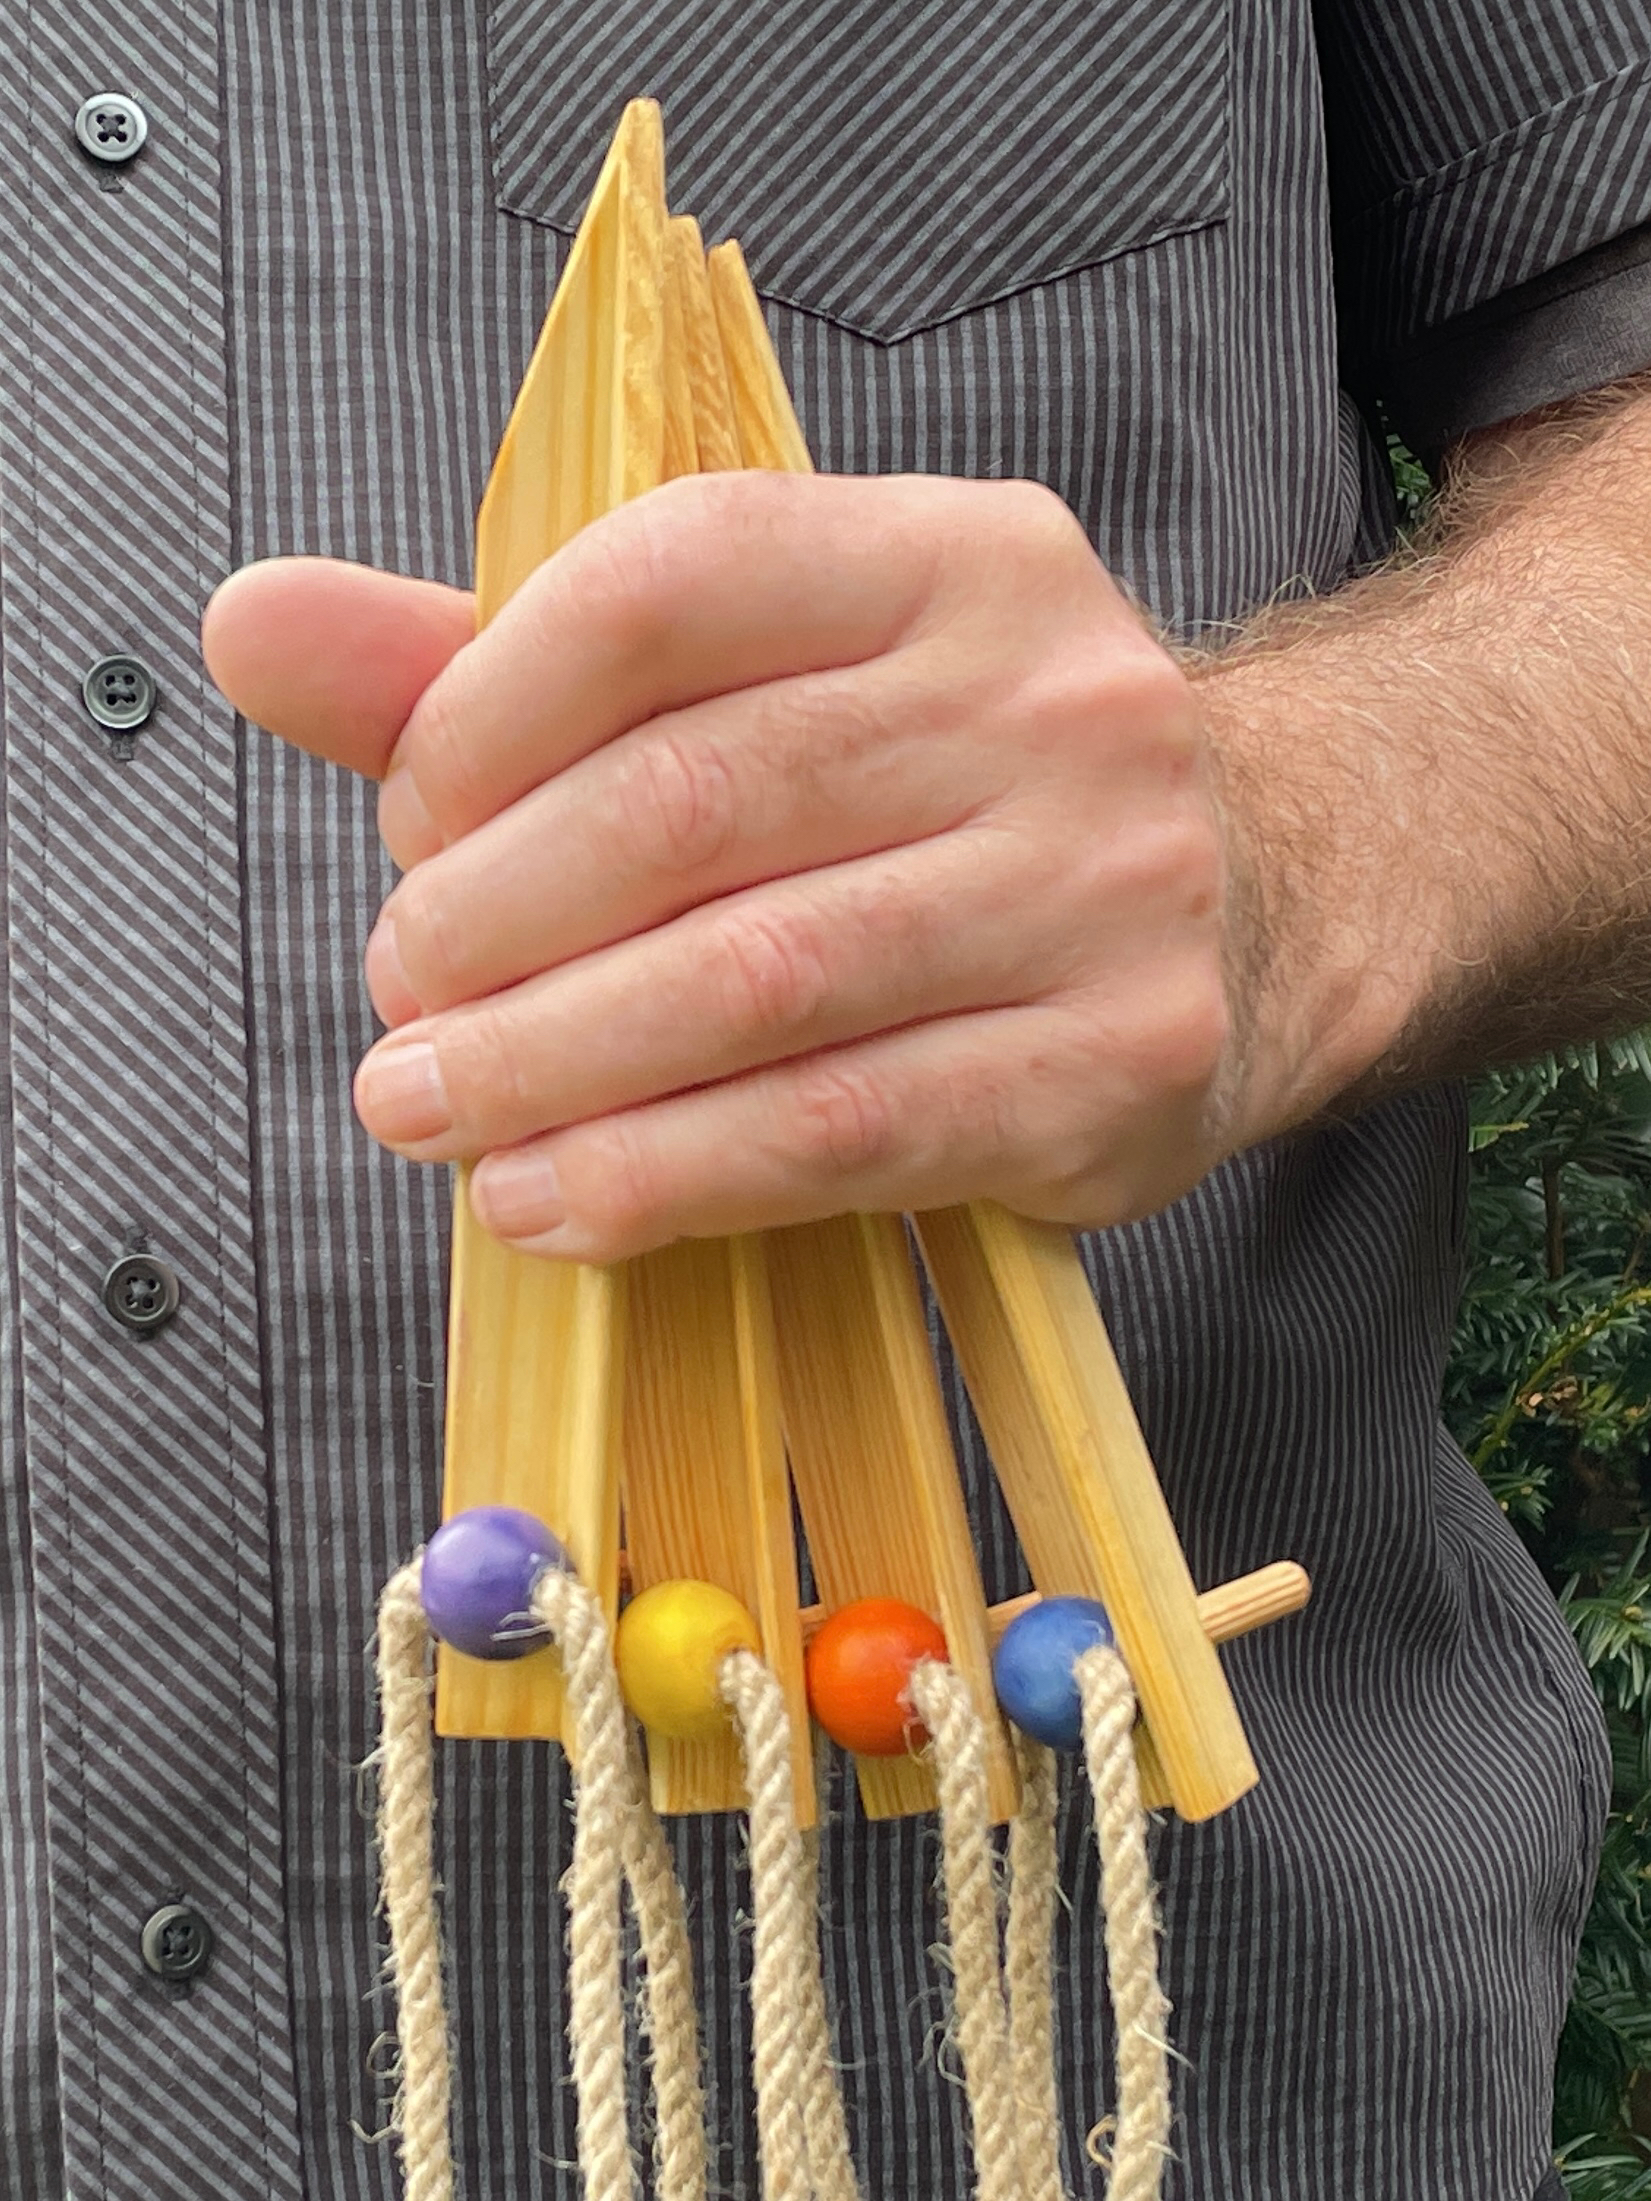
Fold up your Labyrinth Maker as recommended below to avoid tangles.
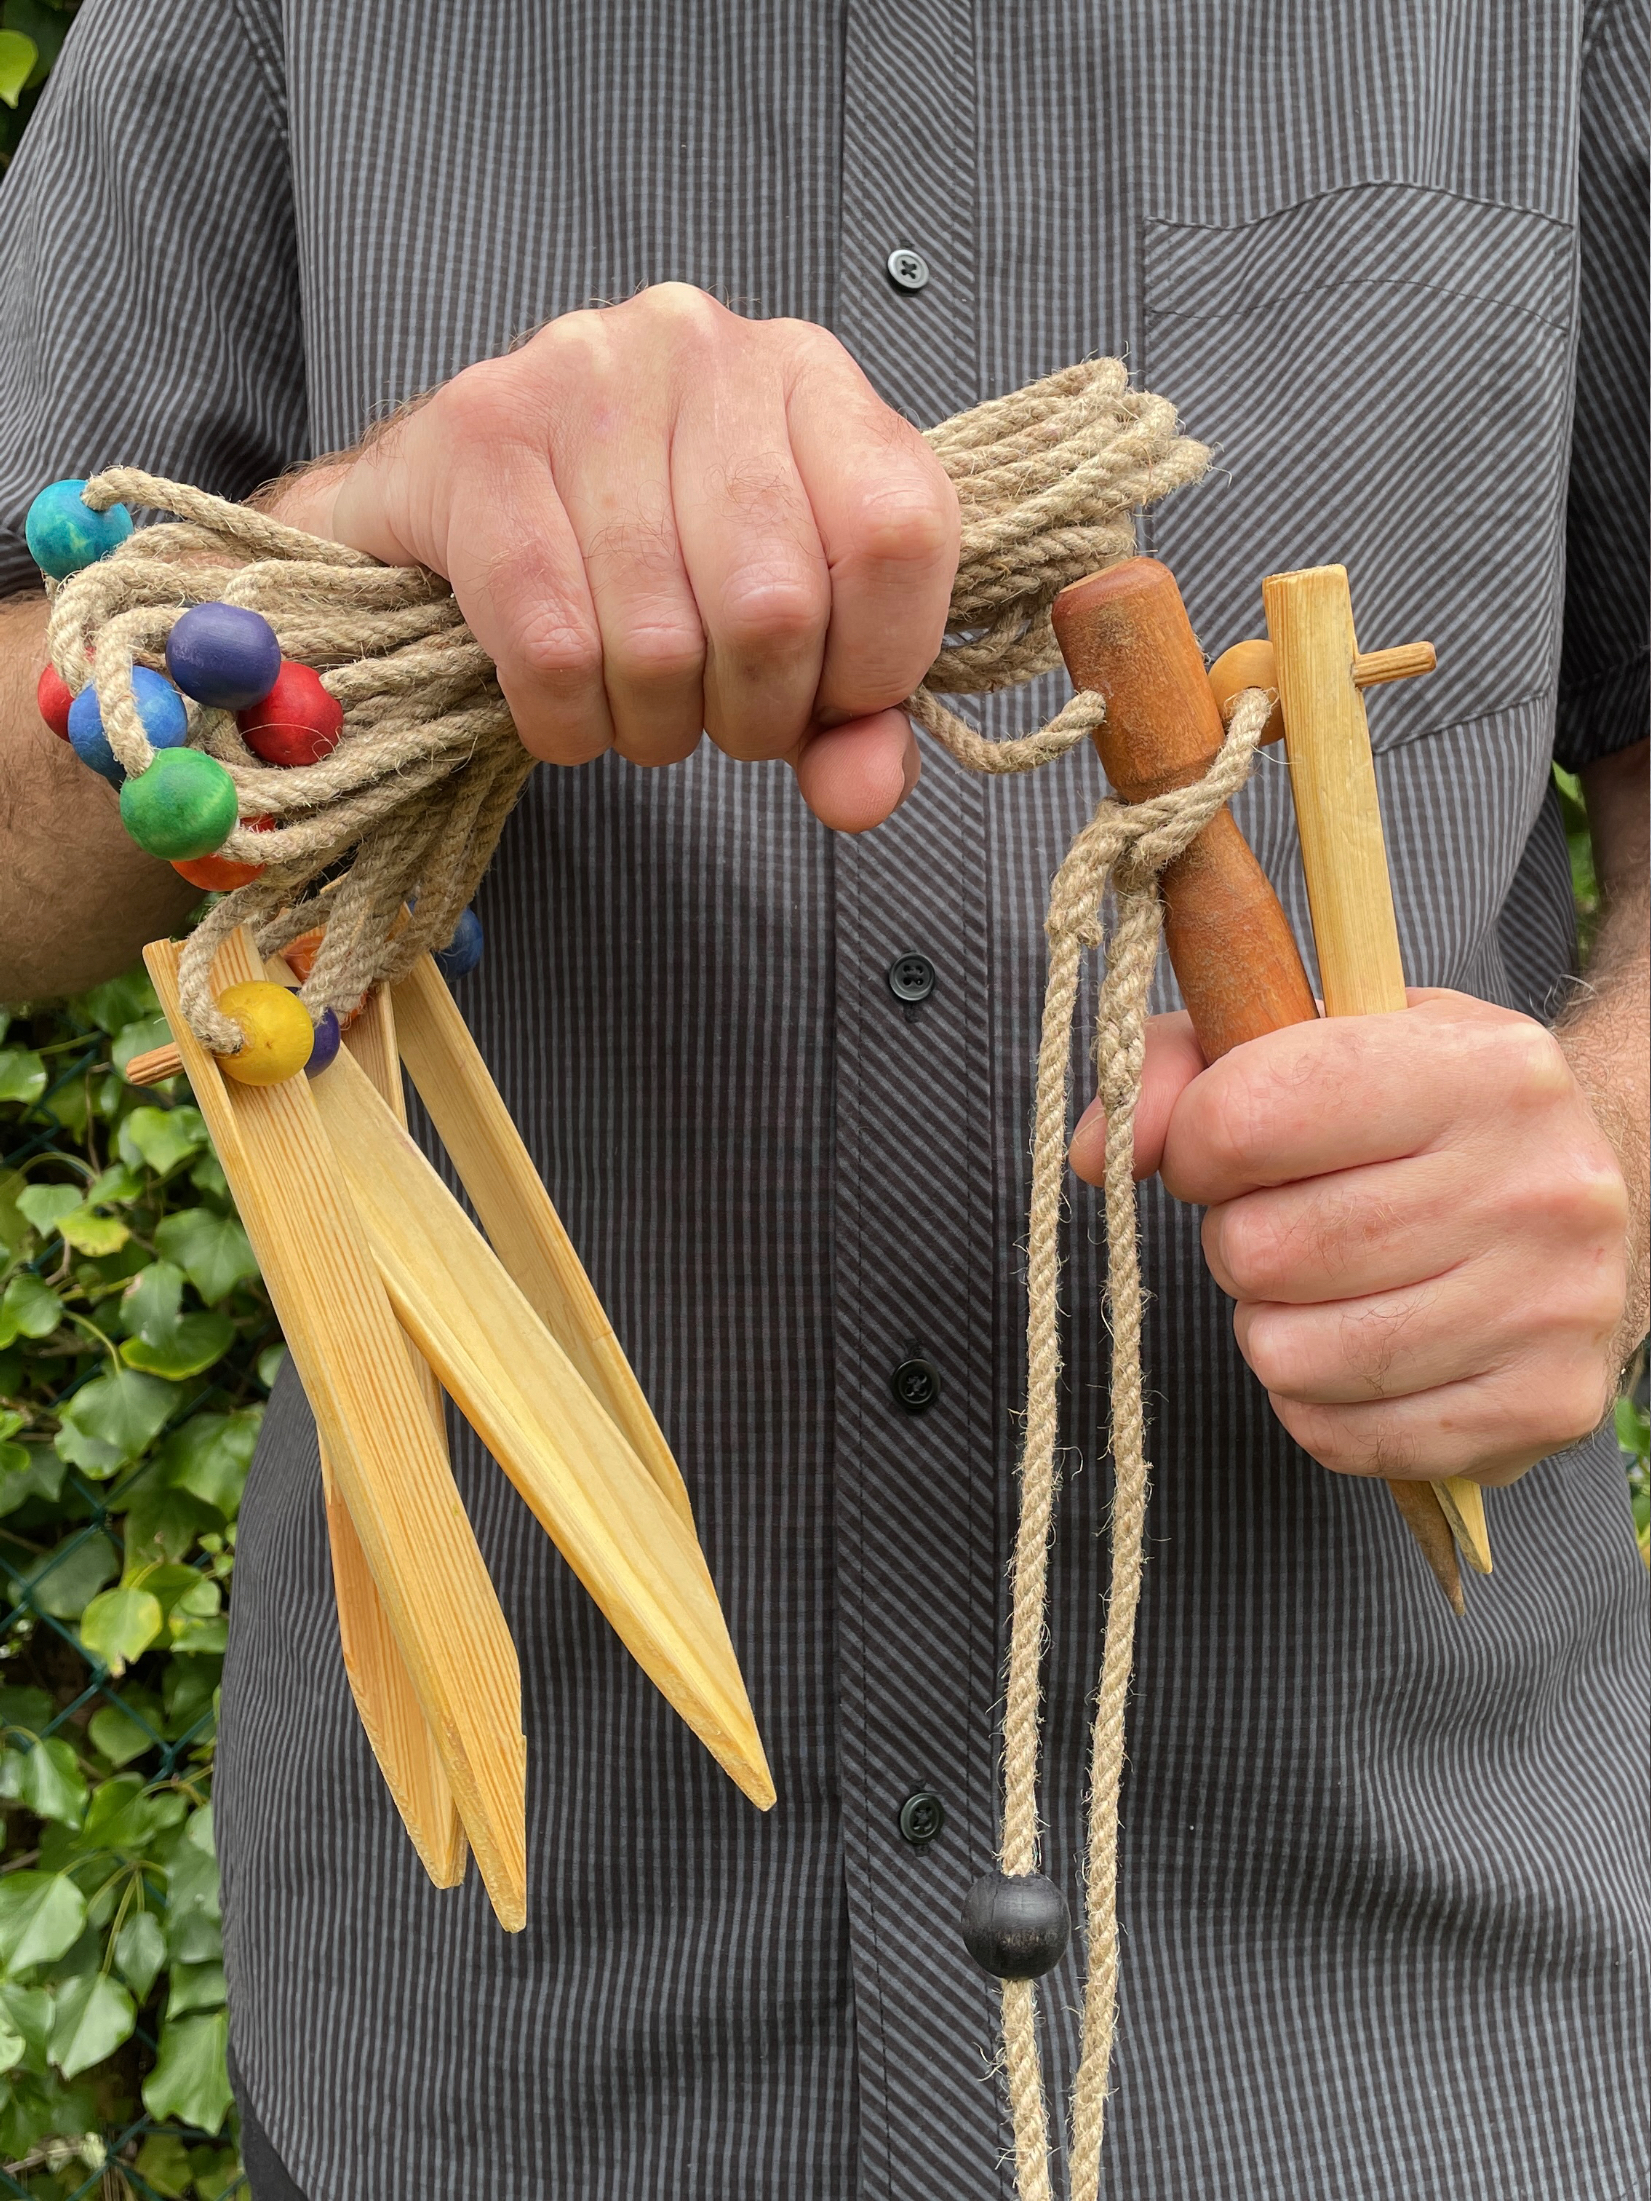
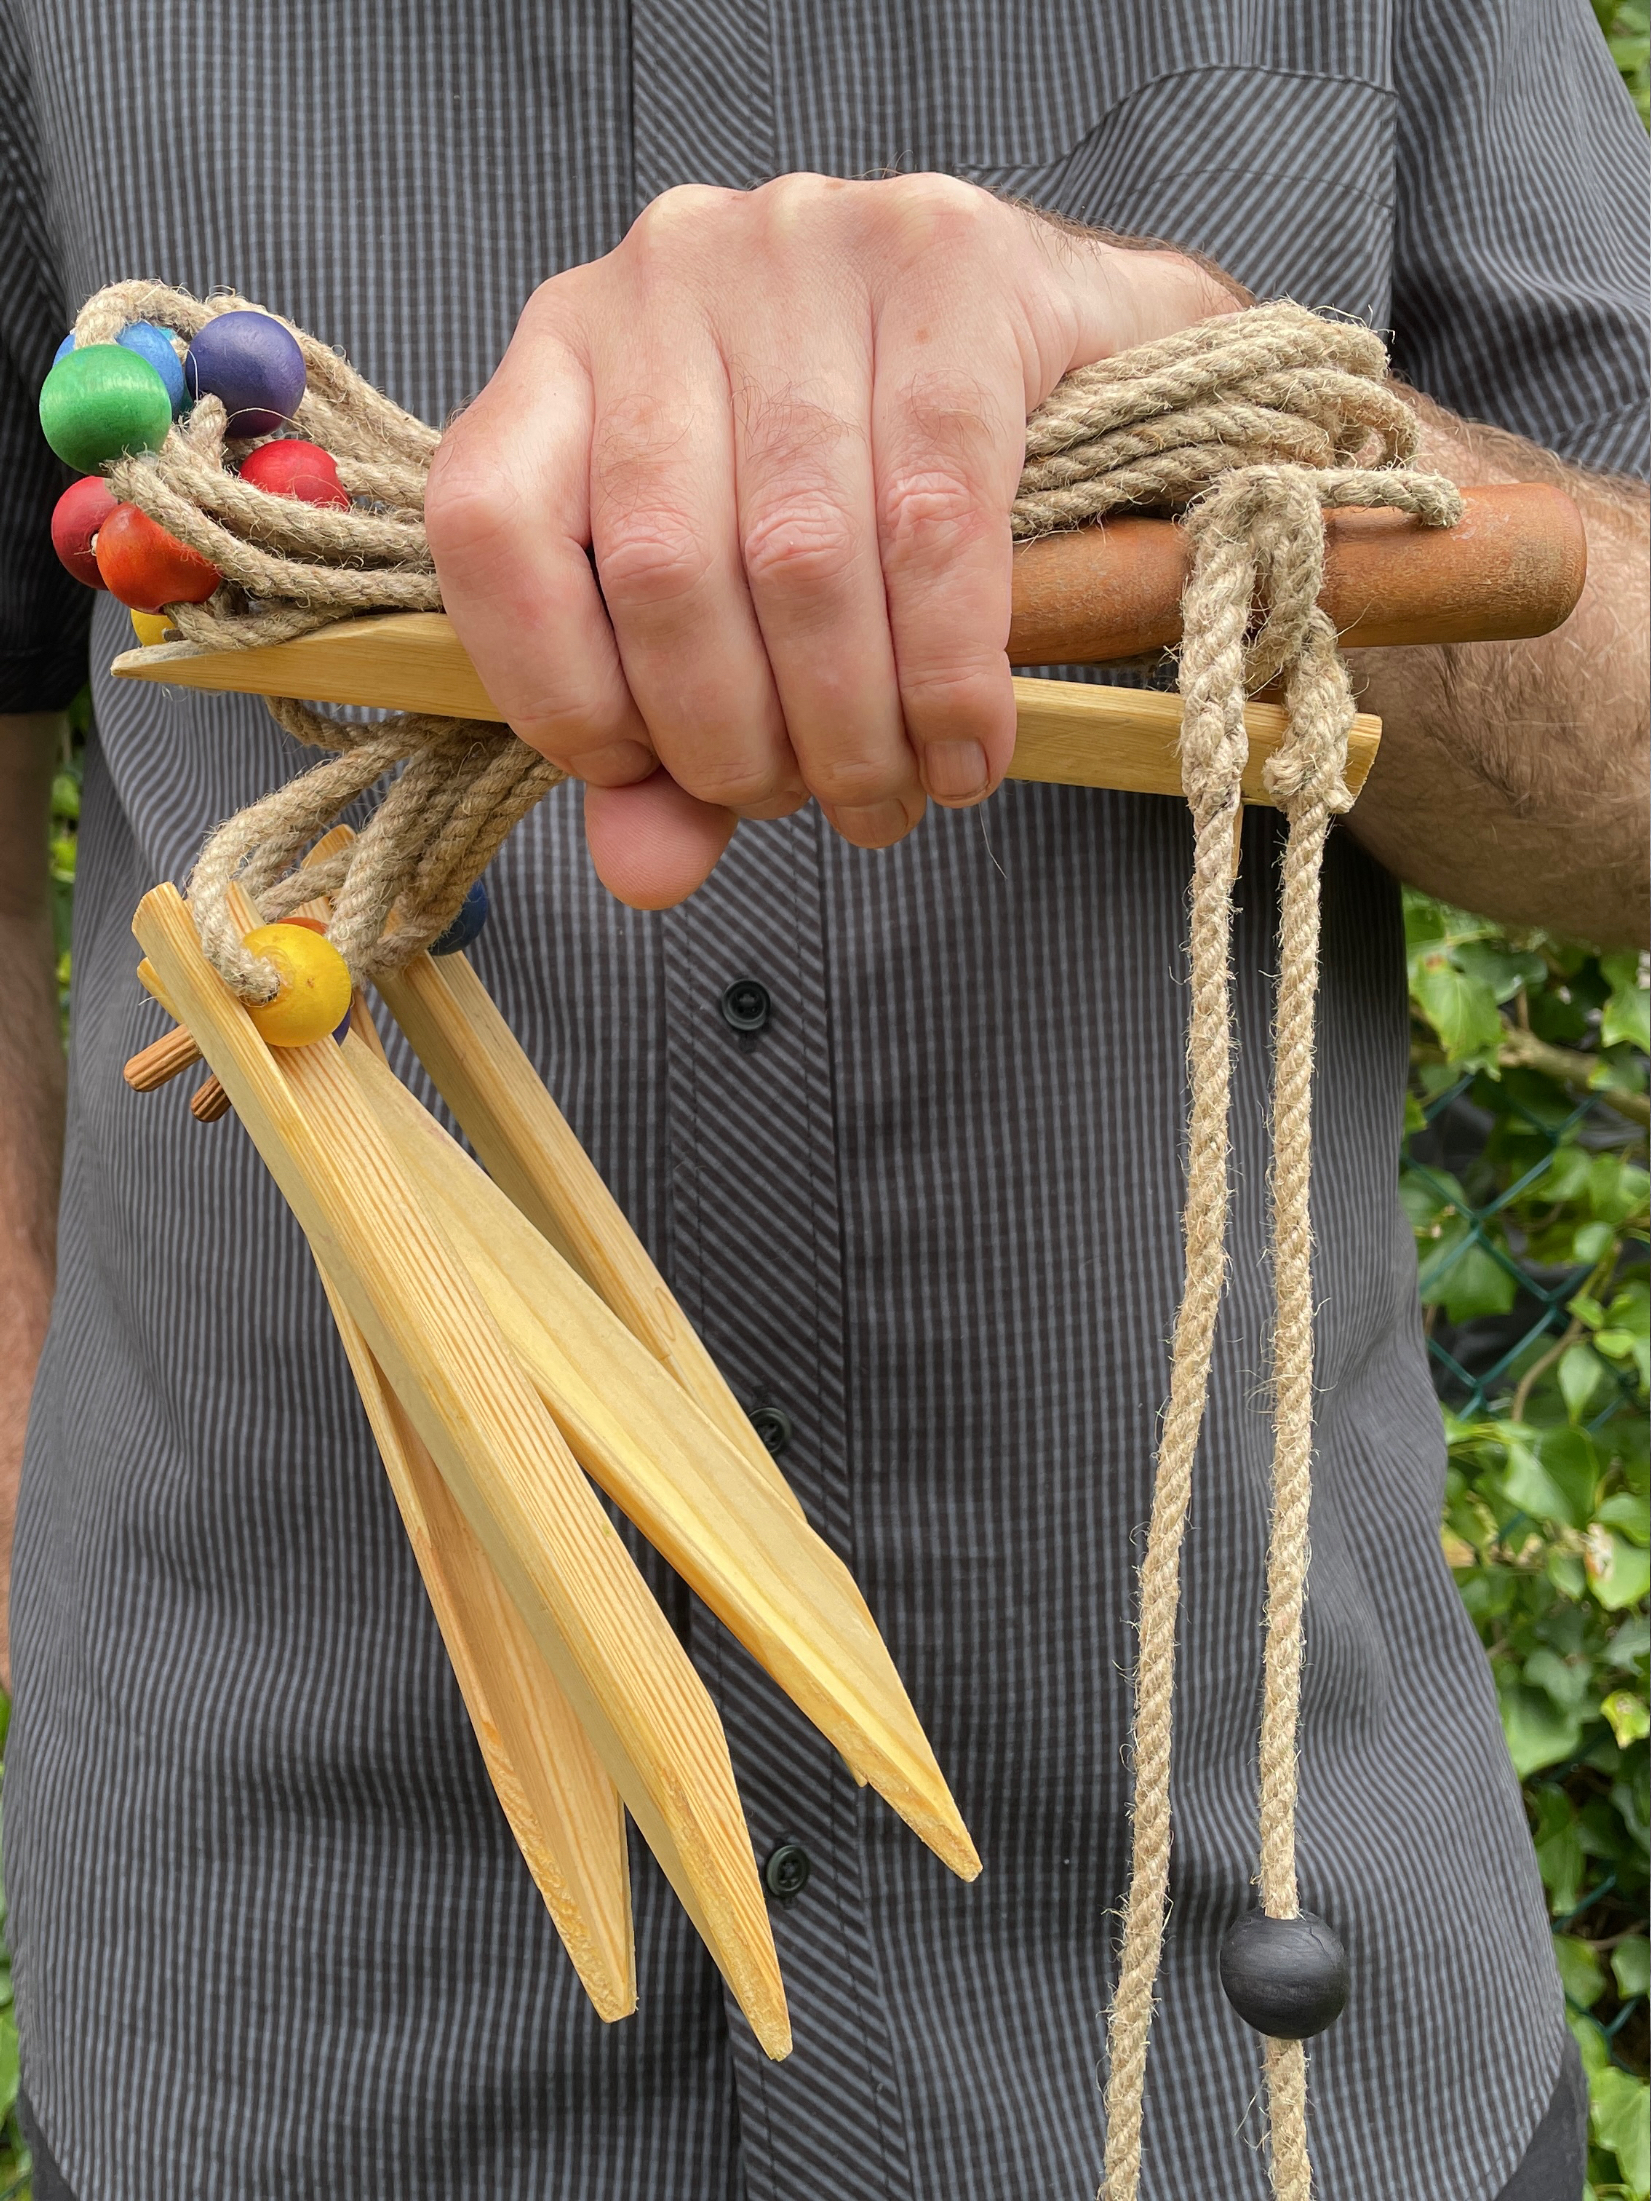
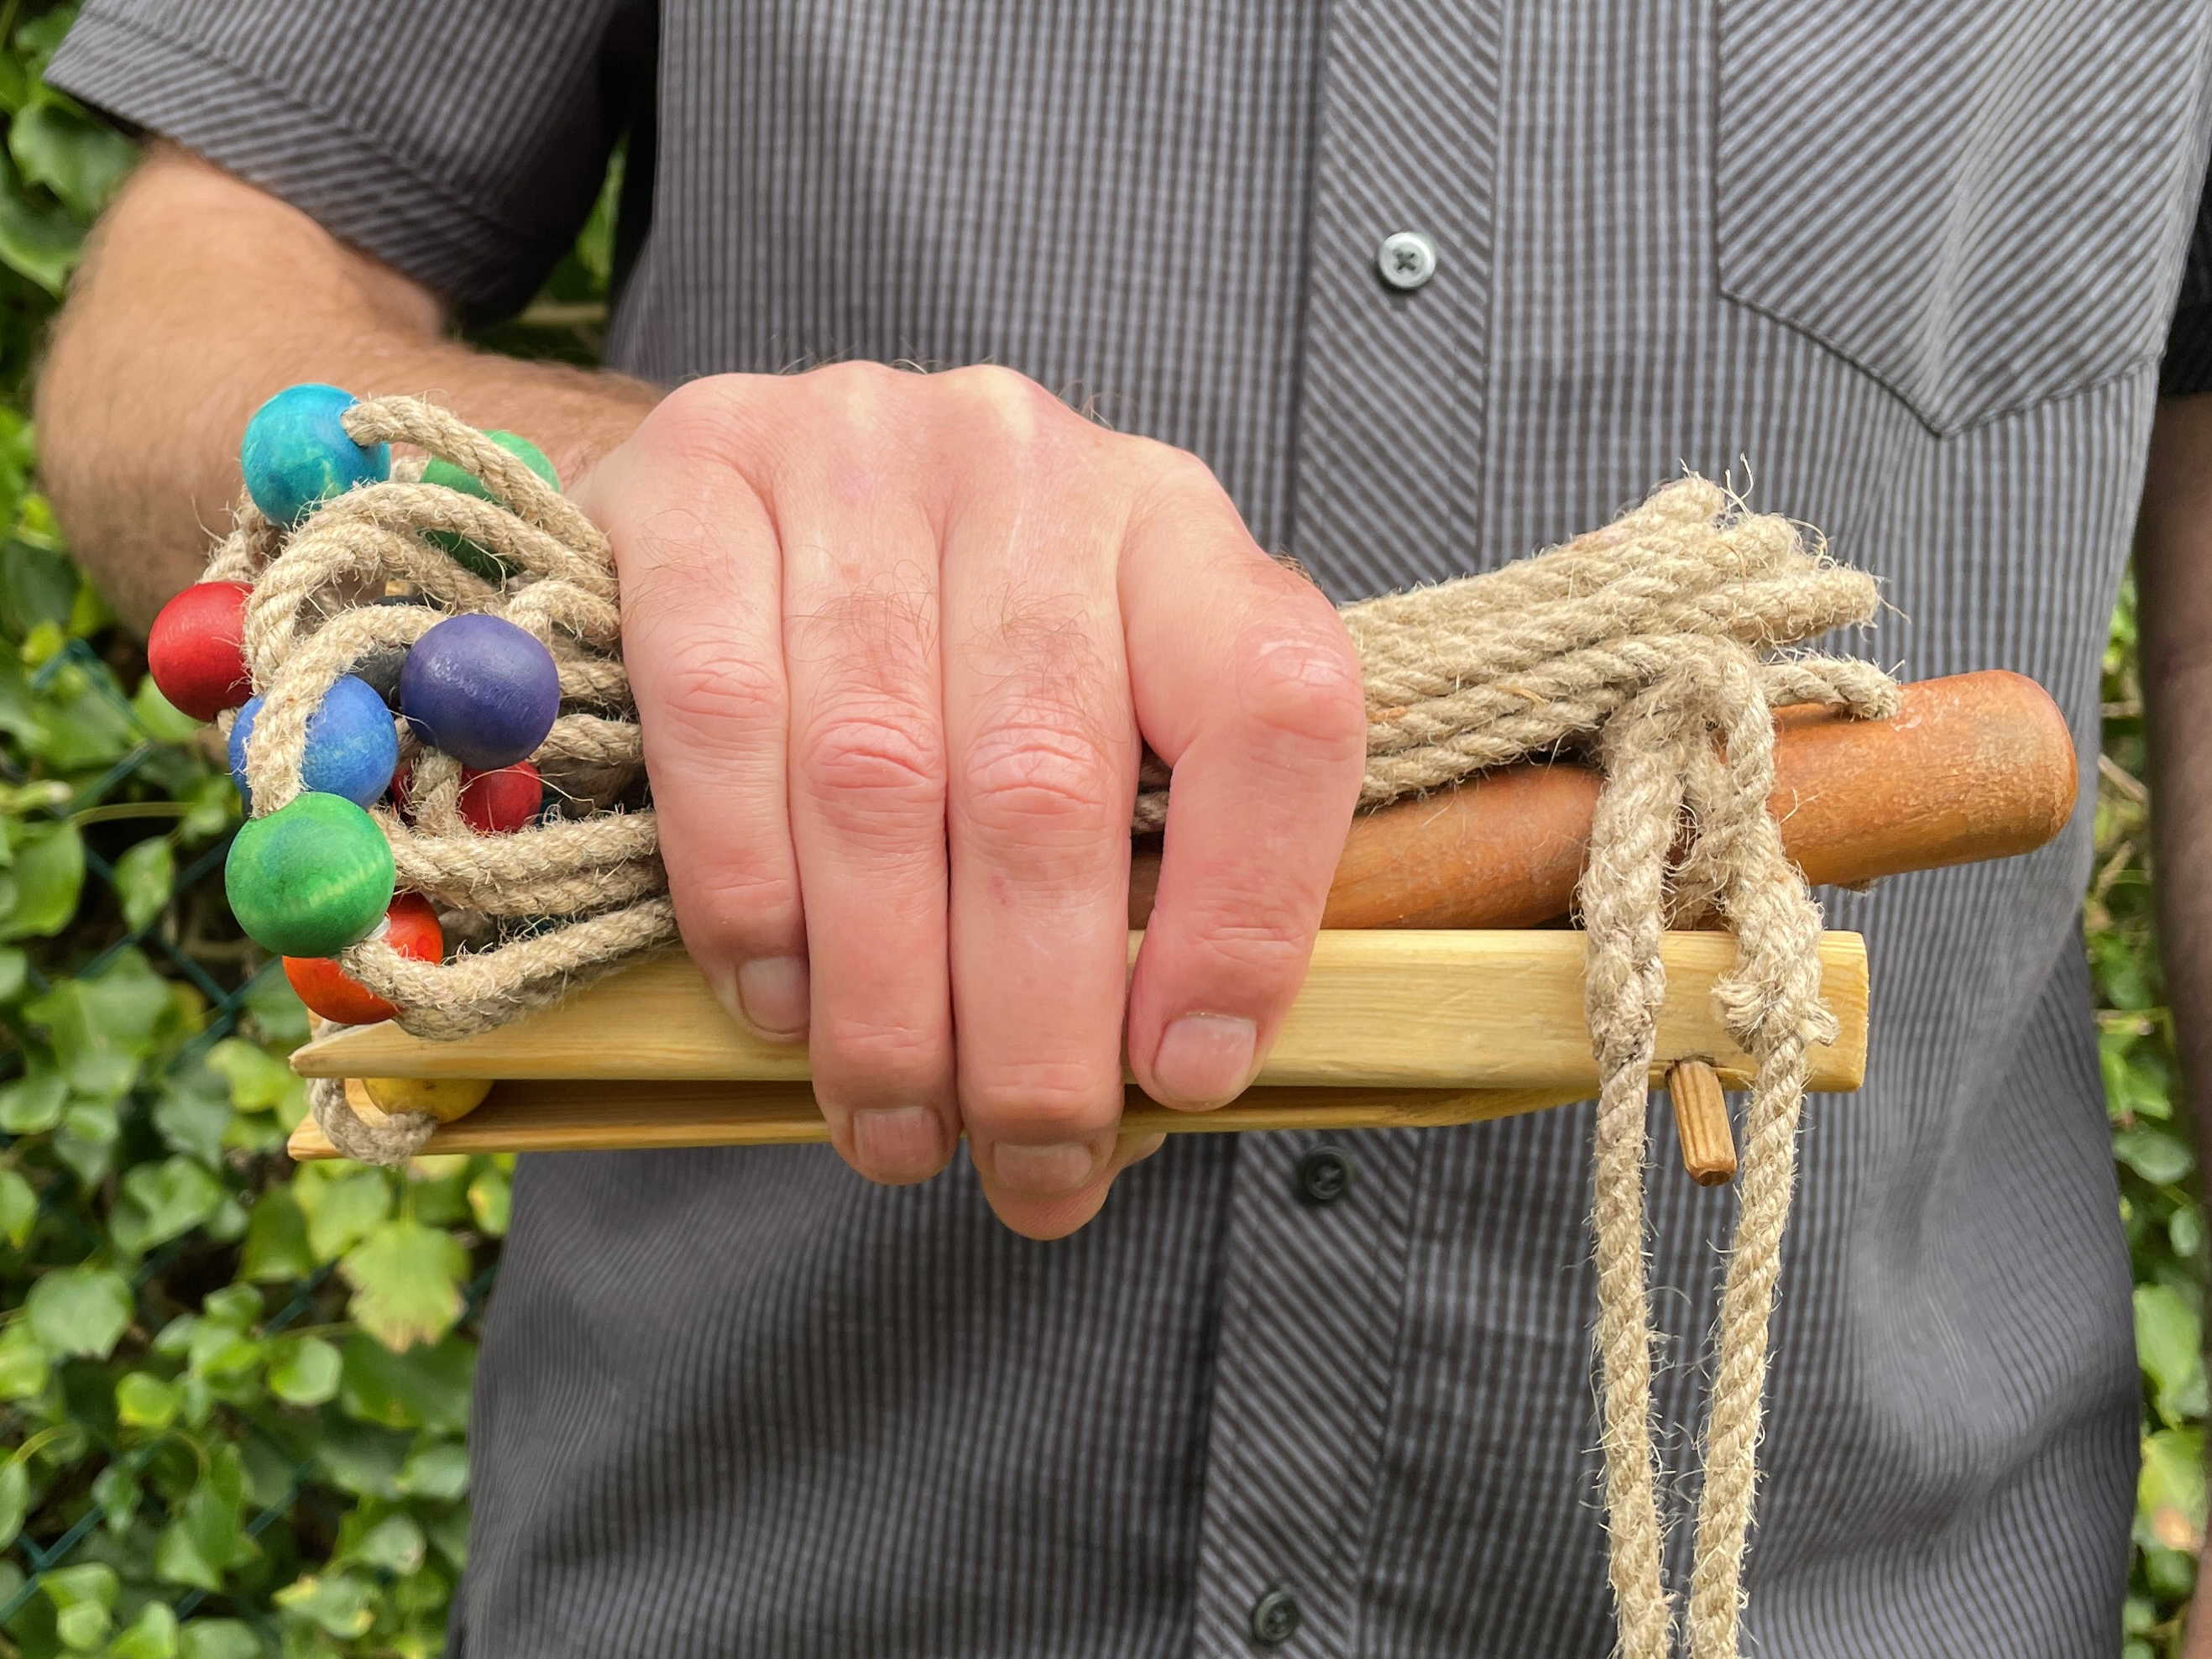
Gather up the corner pegs in anticlockwise order: Blue, Orange, Yellow, Purple.
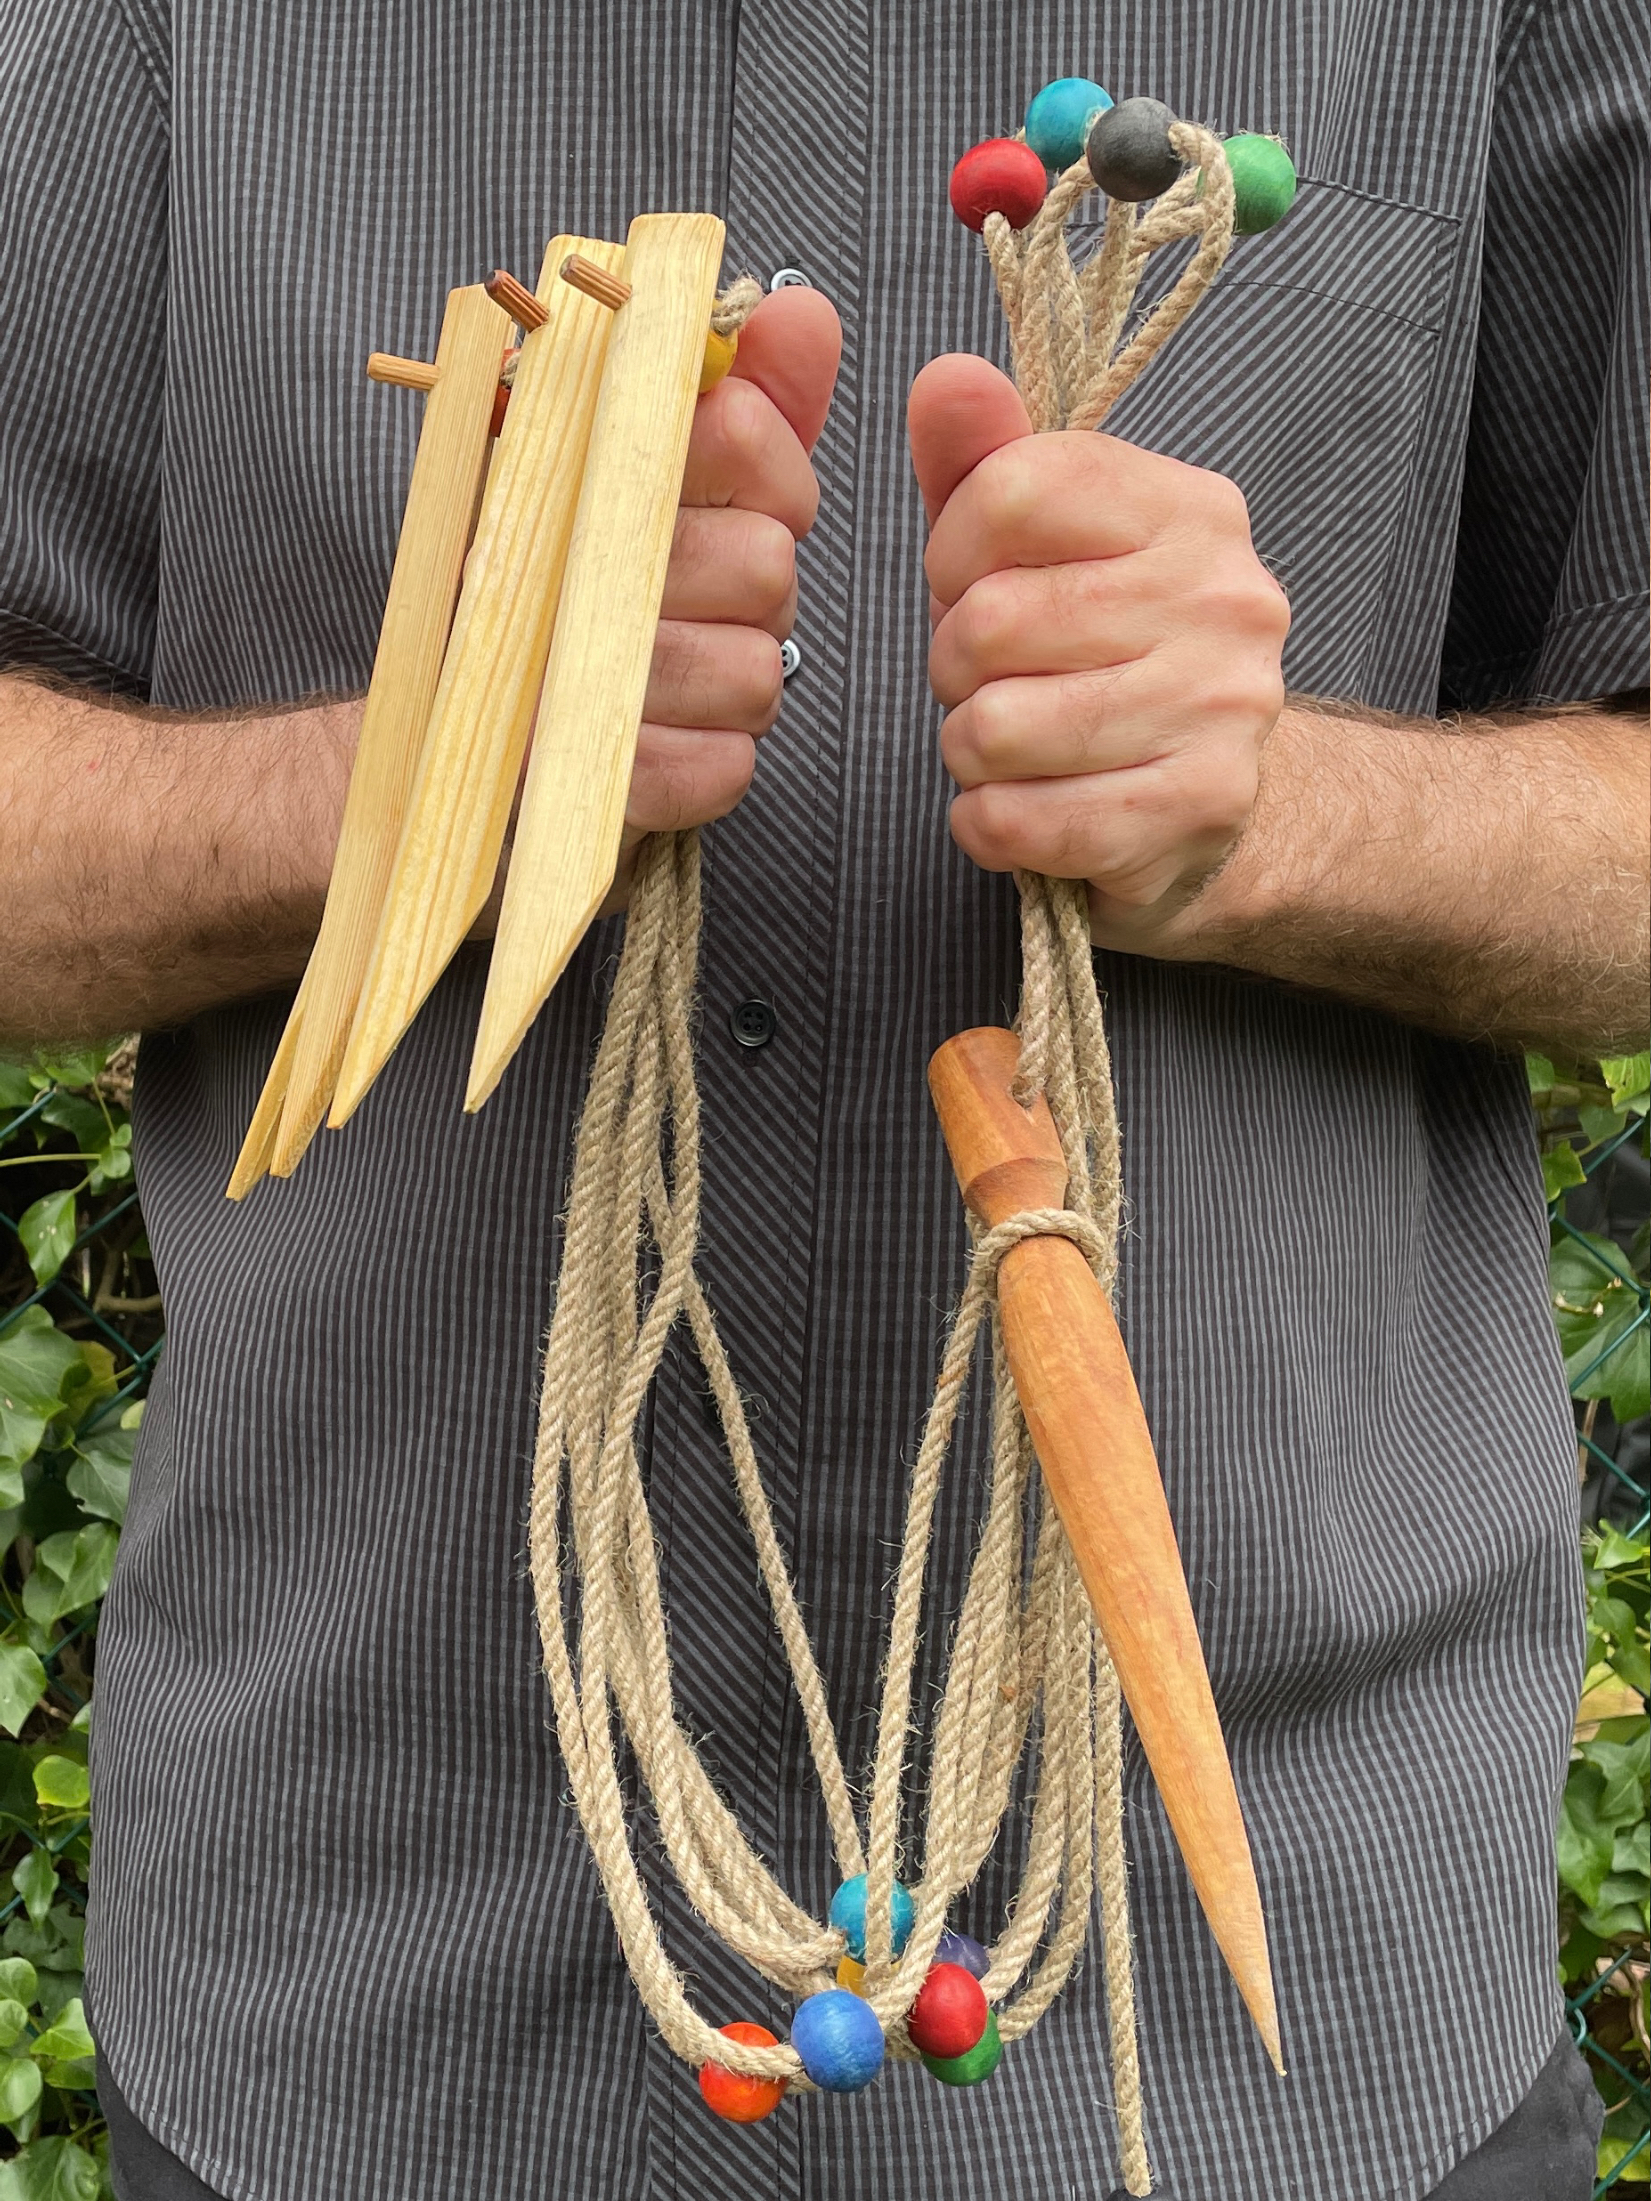
Fold the loops of the SQUARE ROPE up toward the CORNER PEGS twice, keeping the CENTRE PEG free of the folds.
Tuck the loop on the END PEG up onto the CENTRE PEG. Fold up the CENTRE and END PEGS, then the CORNER PEGS.
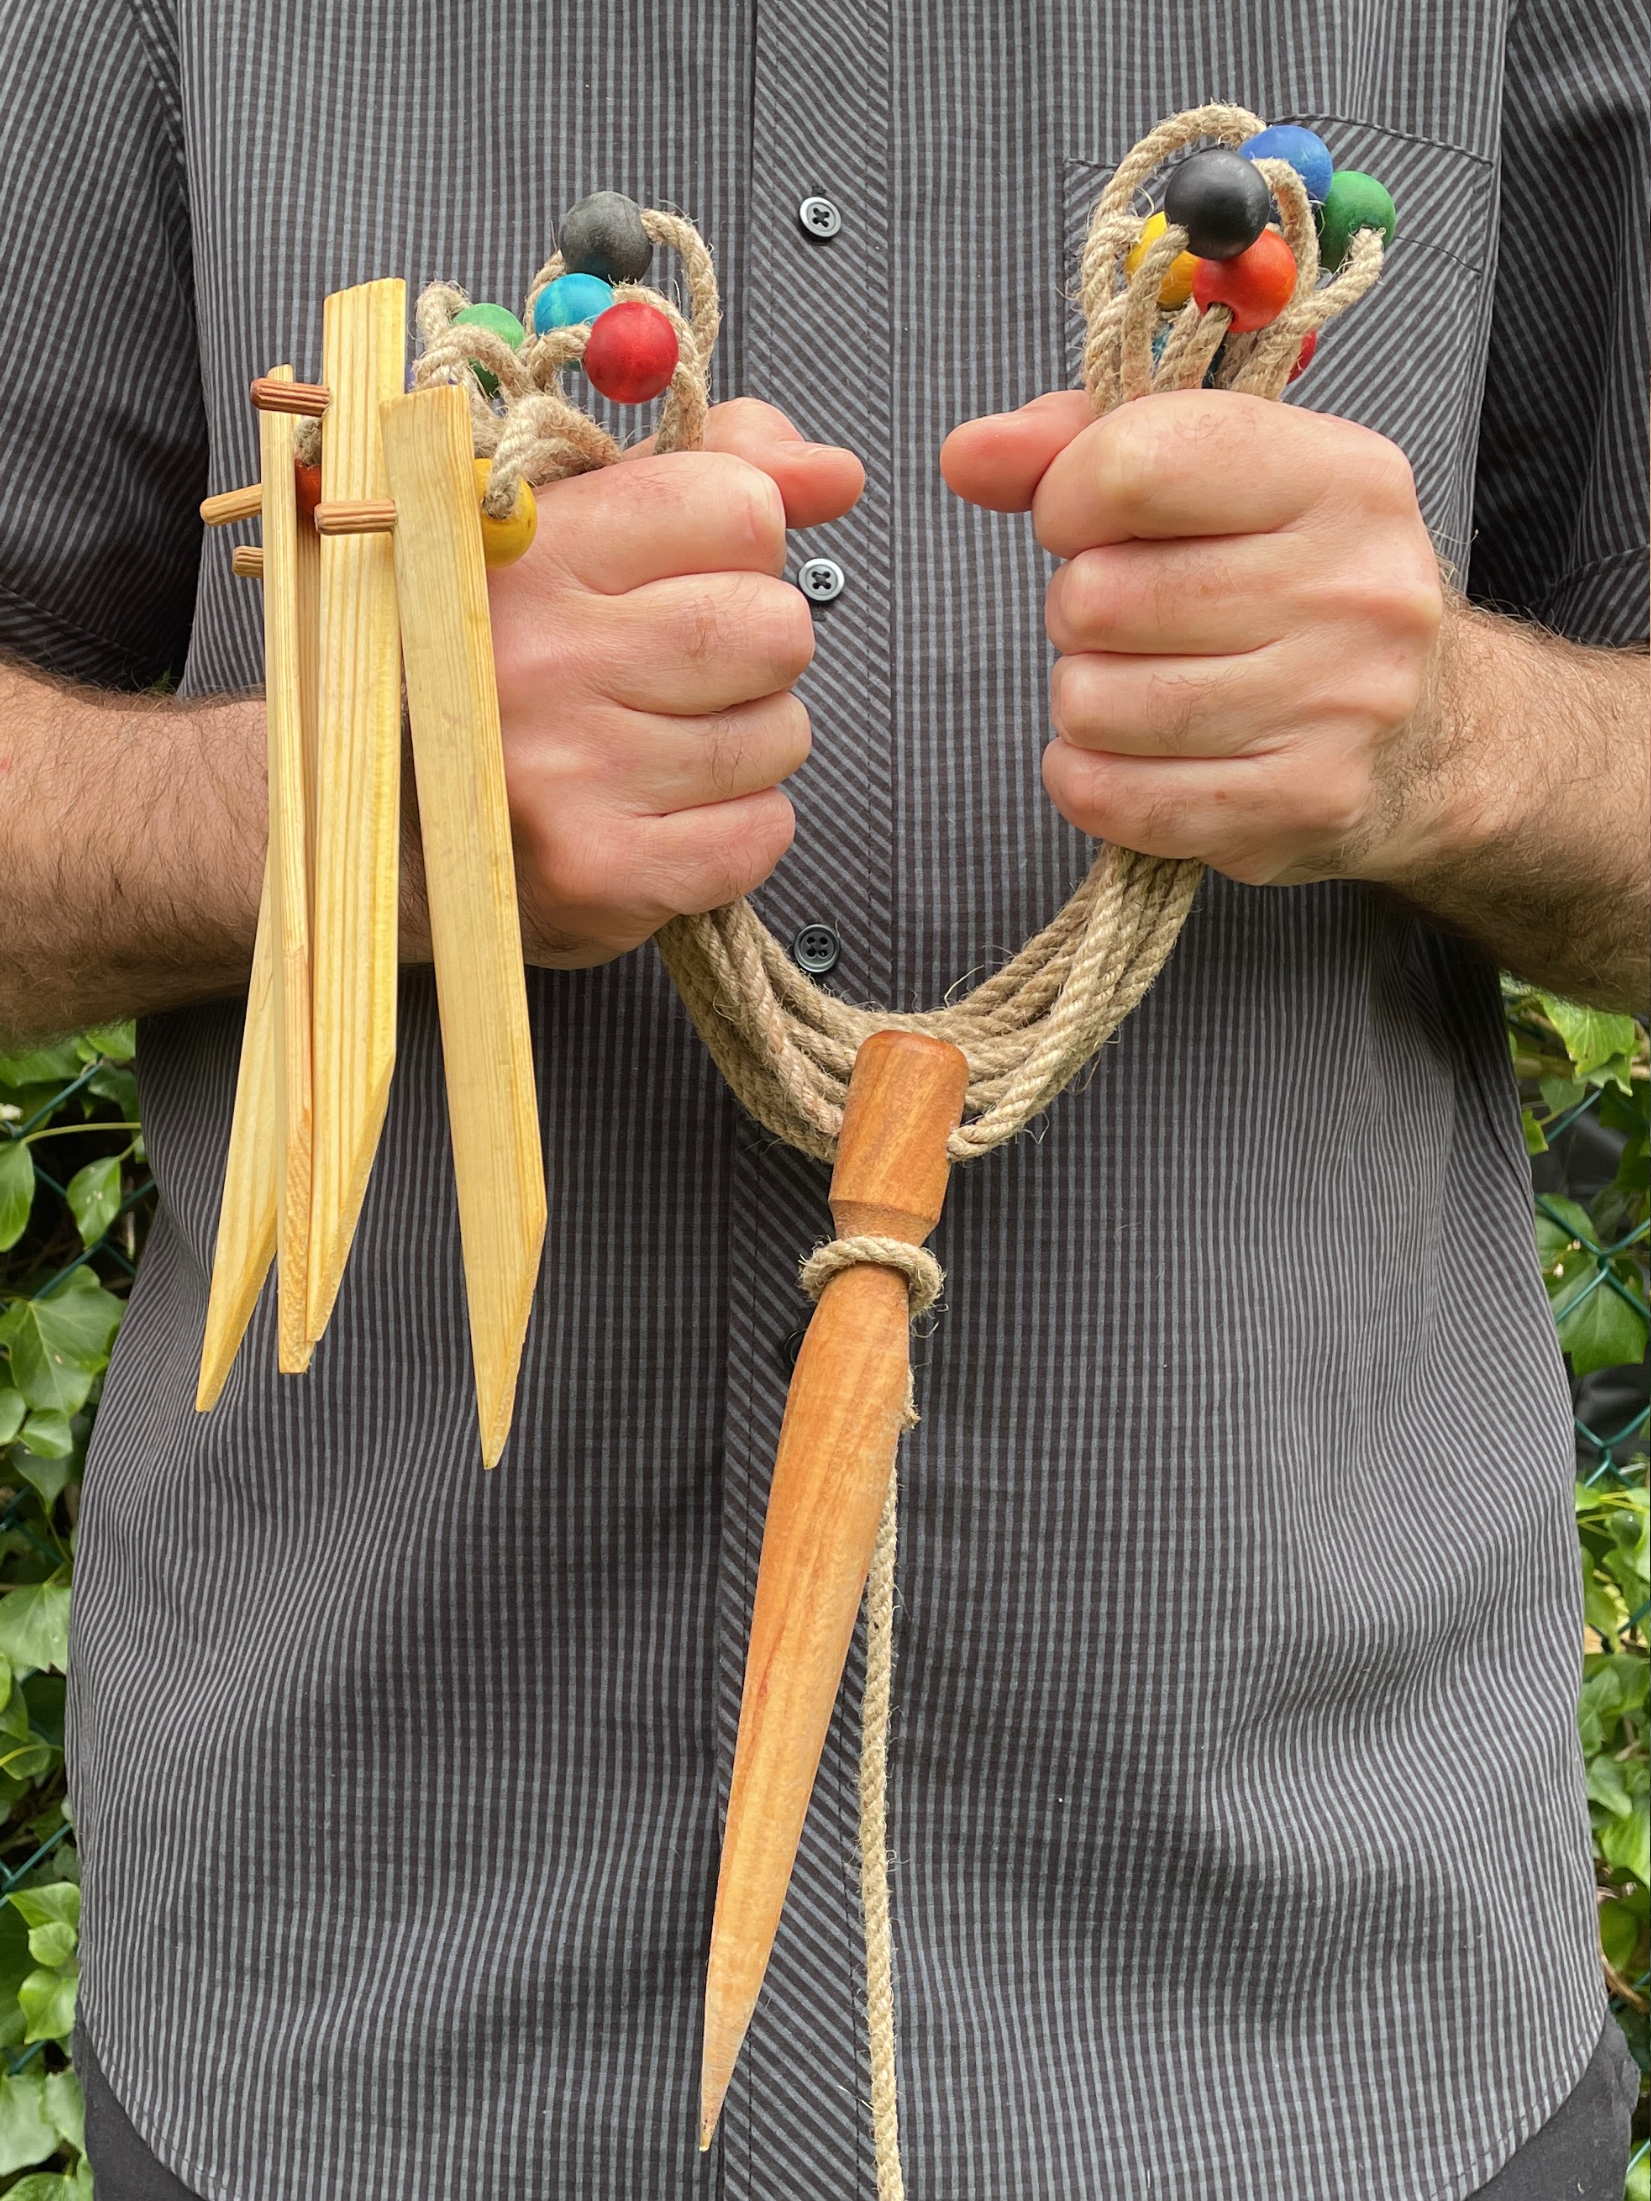
Wrap the COMPASS ROPE around the bundle and secure it over a CORNER PEG.